Guide to Goodman Heat Pump Installation: Your Heat Pump Setup Guide

Installing a heat pump can be a game-changer for your home’s comfort and energy efficiency. If you’re considering a Goodman heat pump, you’re on the right track. Goodman units are known for their reliability and performance, making them a popular choice in Southern California’s climate. In this guide, I’ll walk you through everything you need to know about Goodman heat pump installation, from preparation to cost, and tips for a smooth setup.
Understanding Your Heat Pump Setup Guide
Before diving into installation, it’s important to understand what a heat pump does and why Goodman is a solid option. A heat pump works by transferring heat between your home and the outside air. In cooler months, it pulls heat from outside to warm your home. In warmer months, it reverses the process to cool your space. This dual function makes it an energy-efficient alternative to traditional heating and cooling systems.
Goodman heat pumps are designed with durability and efficiency in mind. They come with features like variable-speed compressors and smart controls that adapt to your home’s needs. This means you get consistent comfort without wasting energy.
When planning your heat pump setup, consider the size of your home, insulation quality, and existing ductwork. Proper sizing is crucial because an oversized or undersized unit can lead to inefficiency and discomfort. A professional HVAC contractor can perform a load calculation to determine the right size for your space.

Step-by-Step Heat Pump Setup Guide
Installing a Goodman heat pump involves several key steps. While some homeowners may feel confident tackling parts of the process themselves, I recommend working with a licensed HVAC professional to ensure safety and optimal performance. Here’s a general overview of the installation process:
Site Assessment and Preparation
The first step is to evaluate the installation site. This includes checking the outdoor unit location for proper clearance, ensuring it’s level, and confirming access to electrical connections. The indoor unit placement is also assessed to optimize airflow and duct connections.
Removing the Old System
If you’re replacing an existing HVAC system, the old equipment must be safely removed. This includes disconnecting electrical wiring, refrigerant lines, and ductwork as needed.
Installing the Outdoor Unit
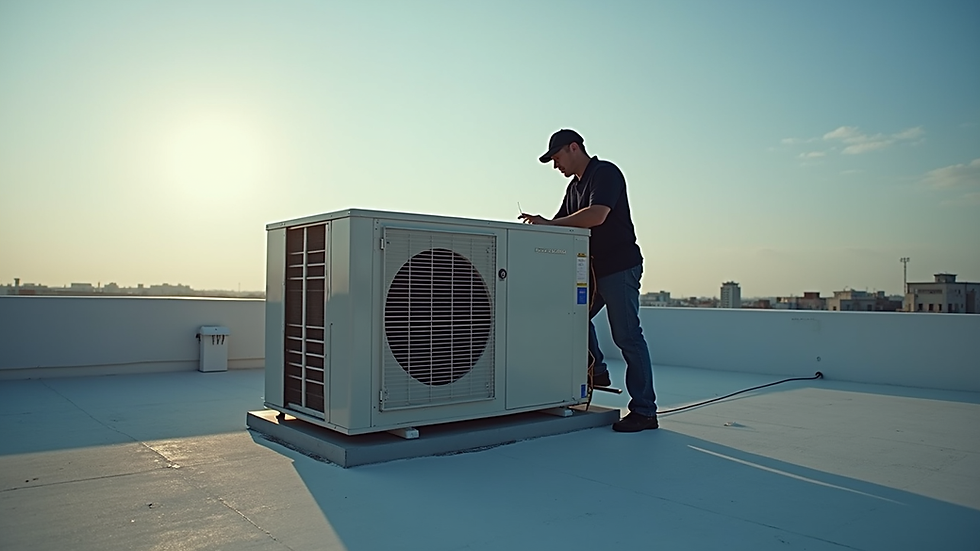
The outdoor condenser unit is placed on a sturdy pad or mounting bracket. It’s important to maintain clearance around the unit for airflow and maintenance access.
Installing the Indoor Unit
The indoor air handler or furnace is installed inside the home, typically in a utility closet or basement. It connects to the duct system and electrical supply.
Connecting Refrigerant Lines and Electrical Wiring
Refrigerant lines are carefully run between the indoor and outdoor units. These lines must be properly insulated and sealed to prevent leaks. Electrical wiring is connected to power the system and control components.
System Charging and Testing
The refrigerant is charged to the manufacturer’s specifications. The installer then tests the system for leaks, airflow, and proper operation. This step ensures your heat pump runs efficiently and safely.
Final Adjustments and User Training
After installation, the technician will adjust thermostat settings and explain how to operate your new heat pump. This is a great time to ask questions about maintenance and energy-saving tips.

How much does it cost to install a Goodman heat pump?
Cost is often a major consideration when planning a heat pump installation. The price can vary widely depending on factors like the size of your home, the complexity of the installation, and any additional work needed on ductwork or electrical systems.
On average, you can expect to pay between $4,000 and $8,000 for a complete Goodman heat pump installation in Southern California. This estimate includes the unit itself, labor, and any necessary materials. Here’s a breakdown of what influences the cost:
Unit Size and Model: Larger homes require bigger units, which cost more. Higher-efficiency models with advanced features also come at a premium.
Installation Complexity: If your home needs duct modifications, electrical upgrades, or structural changes, the price will increase.
Labor Rates: Skilled HVAC technicians charge based on experience and local market rates.
Permits and Inspections: Some areas require permits and inspections, which add to the overall cost.
While the upfront investment might seem significant, remember that a Goodman heat pump can reduce your energy bills and increase home comfort for years to come. Plus, there may be local rebates or incentives available to help offset the cost.
Tips for a Successful Goodman Heat Pump Installation
To get the most out of your heat pump setup, keep these tips in mind:
Choose a Qualified Installer: Look for licensed HVAC contractors with experience installing Goodman systems. They’ll ensure your unit is sized and installed correctly.
Prepare Your Home: Improve insulation and seal air leaks before installation. This helps your heat pump work more efficiently.
Maintain Clearances: Keep the outdoor unit free from debris, plants, and obstructions to maintain airflow.
Schedule Regular Maintenance: Annual tune-ups keep your heat pump running smoothly and extend its lifespan.
Use a Programmable Thermostat: This helps optimize energy use by adjusting temperatures when you’re away or asleep.
By following these recommendations, you’ll enjoy reliable heating and cooling with lower energy costs.
What to Expect After Installation
Once your Goodman heat pump is installed, you’ll notice a difference in your home’s comfort. The system should provide steady, even heating and cooling without the noise or drafts common with older units. You might also see a drop in your utility bills thanks to the heat pump’s energy-efficient design.
It’s normal for your heat pump to run a bit longer than a traditional furnace or AC because it works by moving heat rather than generating it. This steady operation helps maintain consistent temperatures and reduces wear and tear.
Keep an eye on your system’s performance during the first few weeks. If you notice unusual noises, uneven temperatures, or higher energy bills, contact your installer for a follow-up check. Early troubleshooting can prevent bigger issues down the road.
I hope this guide has made the Goodman heat pump installation process clearer and less intimidating. If you’re ready to upgrade your home’s heating and cooling, consider reaching out to a trusted HVAC professional who can help you with every step. For those interested in learning more or scheduling an installation, you can explore goodman heat pump installation options and find expert support tailored to your needs. Here’s to a comfortable, energy-efficient home!


Comments